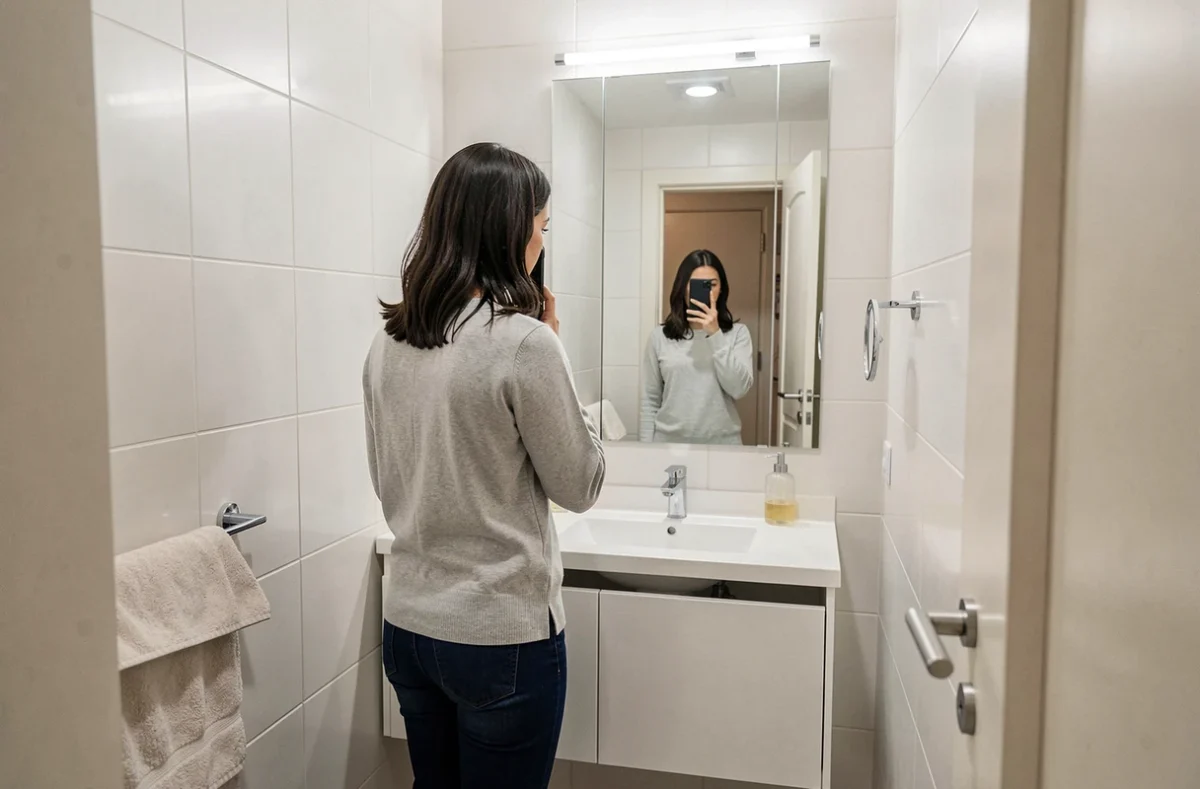
To perfectly illuminate a 5m2 bathroom, several elements must be considered. The primary criterion, illumination, should reach 200 lux for optimal lighting. Thus, two to three spots are necessary, distributed wisely. Their installation requires a certain know-how. First, it is imperative to create a balance between shadows and light, avoiding dark areas. Second, ensure that the spots are well-sealed, protected from moisture. Finally, opt for LED bulbs, economical and durable. This way, your bathroom will be perfectly illuminated, creating a soothing and luxurious atmosphere.
Light on the criteria for optimal lighting in a 5m2 bathroom
In designing a small bathroom, a often overlooked element is lighting. Yet, it is a crucial aspect that can make a huge difference in the appearance and functionality of this space. Choosing the right lighting can give a small bathroom a sense of openness and grandeur that it might otherwise lack.
The optimal lighting required for a small bathroom should provide both brightness and softness. It must be bright enough to allow tasks such as makeup or shaving to be done safely, while being soft enough not to create unnecessary or harsh shadows that can make the space feel smaller than it actually is.
The best way to achieve this balance is through the strategic use of the different available light sources. Ceiling lights above the mirror are ideal for providing direct lighting where it is most needed, while wall sconces can add a decorative touch while dispersing light around the entire room.
Ceiling fixtures are also important as they ensure that every corner is well-lit and help keep the ceiling visually clear, contributing to that highly sought-after impression of a wider and more spacious area.
In terms of colorimetry, warm white, with its characteristic yellow hue similar to natural sunlight, is recommended.
Precise quantification of the spots needed for ideal lighting
To achieve optimal lighting in a room, several factors must be taken into account. It is not enough to simply install a random number of light spots in the ceiling and hope for the best possible result. The size of the room, its functionality, and the colors of the walls and furniture are all elements to consider when determining how many spots will be necessary.
General lighting is one of the primary criteria to observe. It is the main source of light in the room and allows for clear visibility. For this, it is generally recommended to have 1 spot for every 2m² in passage areas (hallways, etc.) and up to 1 spot for every 4m² in other rooms (living room, kitchen, etc.). However, these values may vary depending on the type of brightness desired: lower for a cozy atmosphere or higher if the room has a utilitarian purpose, such as a bathroom or toilet.
Next, consider specific lighting. This is used to highlight certain decorative or architectural elements such as a painting, a piece of furniture, or wall niches. The number of spots required then directly depends on the number of objects you wish to showcase.
Task lighting, which is intended for activities requiring more precision such as reading or cooking, can be managed with just a few strategically placed light sources.
Practical illustration: installation process of the spots in your bathroom
Lighting plays a crucial role in enhancing your bathroom. Therefore, it is essential to choose and install your spots correctly to create a pleasant and functional atmosphere. The first step is to determine the location of the spots. Generally, they should be placed near the mirror or above the sink to provide sufficient lighting when looking in the mirror.
When choosing the spots, ensure compliance with regulations regarding water and electricity. Bathrooms are classified into 3 zones: zone 0 corresponds to the shower or bathtub, zone 1 extends up to 2.25m above these, and zone 2 goes up to 60cm around water points. Only luminaires with a minimum IP44 rating can be installed in these three zones.
Now let’s move on to the actual installation. After marking on the wall the locations where your spots will be fixed, start by drilling each hole with a drill equipped with a bit suitable for the materials you need to penetrate (tiles, plaster). Then, make sure to identify the exact location where each lamp will be connected so that all wires can reach it without difficulty.
Once this operation is completed, proceed with the electrical wiring by carefully following the instructions provided by the manufacturer of the chosen spot, then securely screw it onto its support previously fixed to the wall.