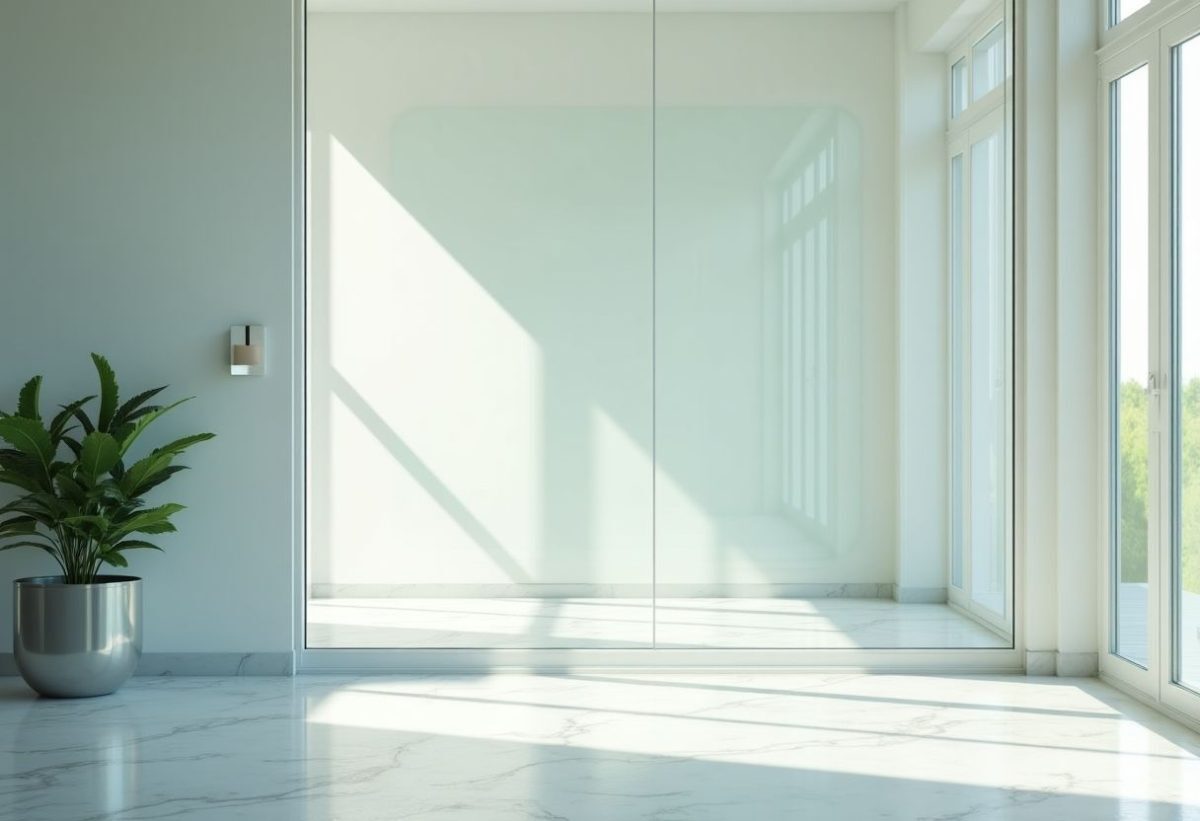
Change the atmosphere of your home with a contemporary and bright touch at your fingertips with the interior glass wall. Having become an essential element of interior design, it allows you to add an aesthetic dimension while optimizing natural light. Whether to separate two rooms, create a home office, or simply beautify a space, making an interior glass wall proves to be a rewarding project accessible to all DIY enthusiasts.
This process, although technical, can be broken down into clear steps, guiding you from design to installation with confidence and creativity.
Choosing the Right Location
The choice of location for your custom glass wall is crucial to maximize the visual and functional impact of this installation. Particular attention should be paid to several aspects before embarking on the construction.
- Evaluate the available space: Carefully measure the area intended to determine the appropriate size of your glass wall. Consider the height and width of the wall, as well as the thickness of the walls.
- Analyze natural light: Identify the sources of natural light in the room. A well-positioned glass wall can not only separate spaces but also diffuse light harmoniously between rooms.
- Consider air circulation: Ensure that the installation of the glass wall does not disrupt the natural ventilation of your interior. Air circulation is essential to maintain a healthy and comfortable environment.
Material Selection
The selection of materials plays a crucial role in the durability and aesthetics of your glass wall. Several options are available to you, each with its specificities and advantages.
Metal, often steel or aluminum, is a popular choice for its robustness and chic appearance. Thin metal profiles allow maximum light to enter while providing excellent resistance.
Wood, on the other hand, brings a warm and natural touch, ideal for a rustic or bohemian interior.
Finally, the glass must be chosen carefully: tempered or laminated glass ensures safety and durability. Depending on your preferences, you can opt for clear, frosted, or even tinted glass to modulate the light.
Construction Steps
Installing an interior glass wall requires careful planning and precise execution. Here are the key steps to follow to successfully carry out your construction project.
- Design and planning: Draw a detailed plan of the glass wall, including all dimensions and specifications of the chosen materials. Remember to integrate the necessary openings for easy access and optimal ventilation.
- Preparing the structure: Assemble the metal or wooden frame according to the plan. Check the alignment and sturdiness of the entire structure before moving on to the next step.
- Installing the glazing: Cut and secure the glass panels using spacers and appropriate sealant. Ensure that each panel is well-fitted and secured to avoid any risk of breakage.
- Finishing touches: Install the seals and make any necessary touch-ups on the structure. Apply paint or stain to the frame to protect the material and enhance the aesthetics of your glass wall.
Maintenance and Safety Tips
Once your glass wall is installed, it is essential to ensure regular maintenance to preserve its new appearance and guarantee its longevity.
For cleaning, use products suitable for the type of glass and frame chosen. Avoid abrasive cleaners that could damage the surfaces. Regularly inspect the seals and replace them if necessary to prevent water and air infiltration.
Ensuring that your glass wall is in good condition also involves periodically checking the sturdiness of the frame and fixings. Meticulous maintenance will prolong the lifespan of your installation and maintain its optimal safety level.
Finally, do not neglect safety during the manufacturing and maintenance process. Wear protective equipment when handling glass and follow the manufacturer’s instructions for installation and assembly.